Outdoor Faucet Repair Services Overview
Visitors will learn about how local contractors handle outdoor faucet repair services and can compare options to find the right professionals for their needs.
- - Residential homeowners seeking quick repairs for leaking or broken outdoor faucets.
- - Property managers needing reliable local contractors for maintenance on apartment complexes or commercial properties.
- - Home improvement projects requiring professional assistance with outdoor water fixtures and faucet installations.
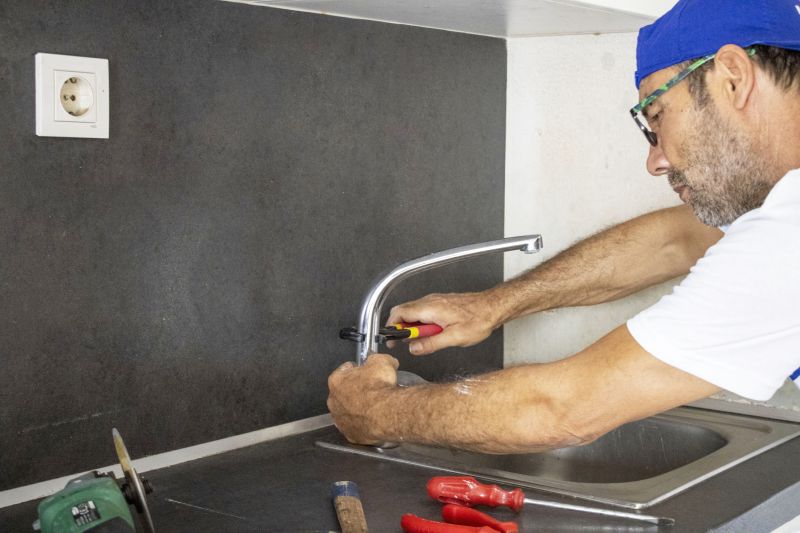
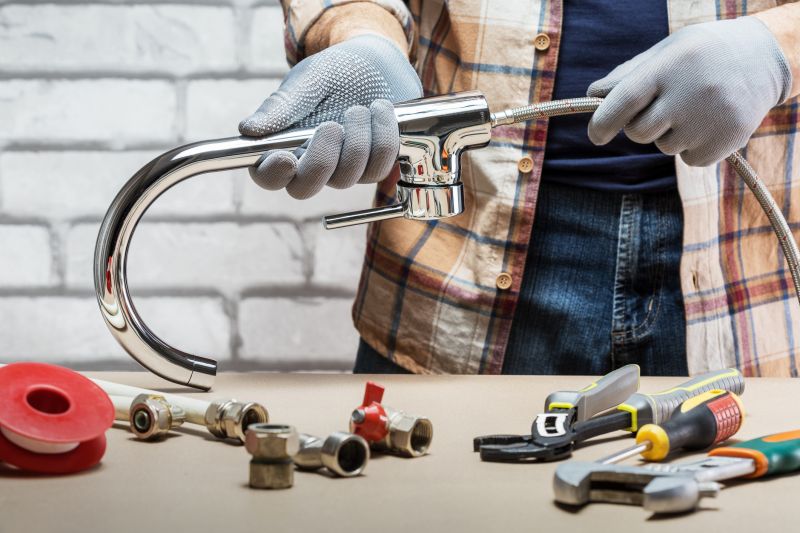
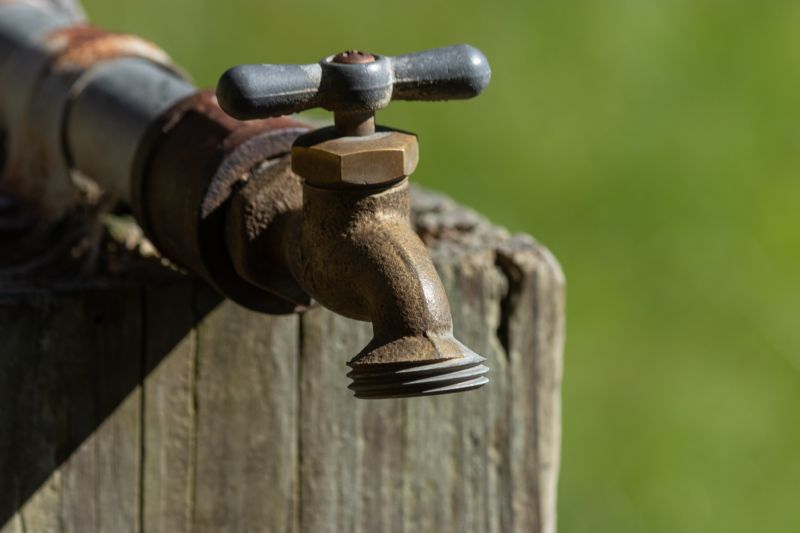
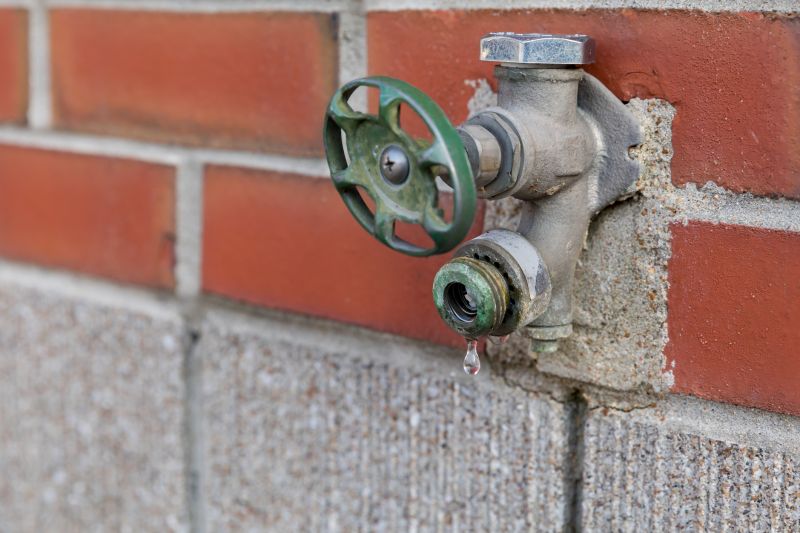
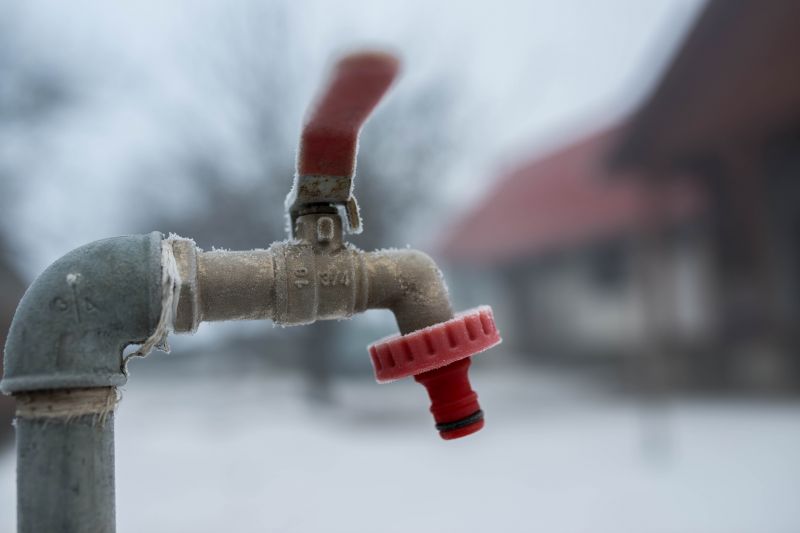
Outdoor faucet repair services involve addressing issues such as leaks, cracks, or broken handles that can occur over time due to exposure to the elements or wear and tear. Property owners often seek assistance from local contractors who specialize in fixing outdoor plumbing fixtures to prevent water waste, avoid property damage, and restore proper functionality. These professionals typically handle a range of repair needs, ensuring outdoor faucets operate safely and efficiently.
Local service providers in the area are experienced in diagnosing the root causes of outdoor faucet problems and performing necessary repairs or replacements. Connecting with nearby contractors allows property owners to find trusted experts capable of handling common issues like frozen or leaking faucets, damaged spouts, or faulty valves. Whether for routine repairs or emergency fixes, these local pros help ensure outdoor water fixtures are restored to proper working condition.
This guide provides helpful information to understand the basics of outdoor faucet repair and what to consider before starting a project. It assists in comparing local service providers so homeowners can find the right fit for their needs. The content is designed to help visitors gather the essentials and connect with qualified local contractors.